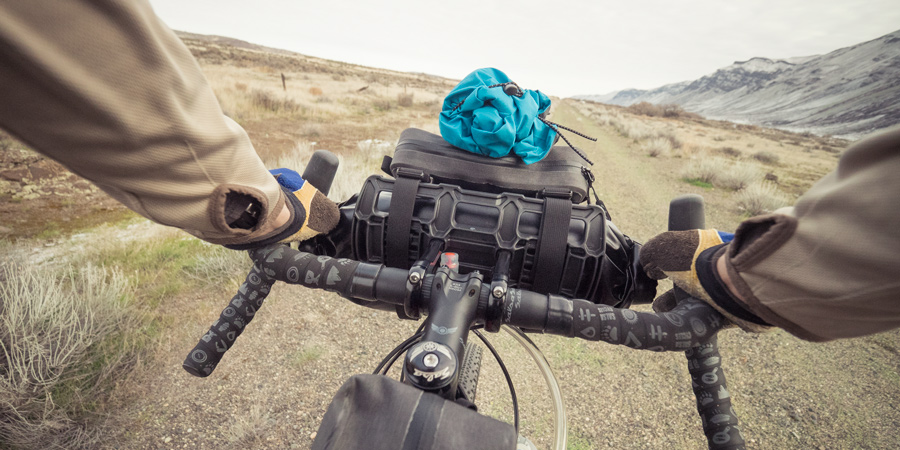
How to Plan a Bikepacking Route
I interviewed industry experts to gather information for a comprehensive article about planning a bikepacking route. You can see the original article on REI.com, or continue reading below.
Whether you have a free weekend, month or more, a bikepacking journey along singletrack trails or remote forest roads might be just what you need to satisfy your cravings for adventure. But before you pack up and roll away, it can be well worth the effort to put a solid plan in place. Doing so will help you make the most of your time on the trail and can reward you with a memorable experience.
How to Plan a Bikepacking Route
Narrow your options: Think through things like time, distance, region and weather to help you narrow down where you want to go.
Design a route: Use maps, guidebooks, websites and word of mouth to find roads and trails you can ride on. Be sure to think about where you will sleep each night and how you will get food and water.
Create a GPS track: Once you’ve identified the roads and/or trails you want to ride, use an online application to draw your route on a map. Take that route and put it on your smartphone or handheld GPS device.
Go ride: Have fun! When you get home, think about what worked, and what didn’t, so you can plan an even better adventure next time.
Narrow Your Trip Choices
When you first start planning a bikepacking trip, the route options can seem endless and overwhelming. To help you narrow things down, decide on your trip parameters:
Time vs Distance: Your bikepacking destination will largely be limited by these two factors. As you think through time and distance, keep in mind that with a loaded bike, you won’t be able to travel as fast or as far as you otherwise would. Exactly how fast or how far you can go depends on a lot of factors, including terrain, distance, elevation gain and fitness level.
How much time you have: If you only have a weekend available for your trip, you’ll need to know how many miles you want to ride each day and be sure that your route works with your time constraints. If you’re new to bikepacking, start conservatively and plan to ride approximately 20 – 40 miles each day. You can always go up from there.
How far you want to go: If you’re set on riding a route that’s a fixed length, then you’ll need to figure out how many miles you can ride each day and this will determine how many days your trip will take. Again, play it safe and plan for about 20 – 40 miles each day unless you know you’re capable of doing more.
Region and aesthetics: Is there a specific region of your state that you’ve always wanted to explore? Picking a location for your trip can help you focus in on trails in that area. It can also be fun to plan a trip around a beautiful or iconic location, such as a stunning view, a historic ruin or a hot spring where you can relax and soak.
Time of year and weather: Depending on where you live, summer riding conditions can be very different than in winter. Some trails may not be accessible in early spring because they’re covered in snow.
Shuttles: If you’re riding a point-to-point route that ends in a different place than you started, you’ll need to figure out some extra logistics. Can you get a friend to drop you off and pick you up? Or, can you leave a car at each end? If you live in place with public transportation options, see how a bus or train could work into your plan.
Design a Bikepacking Route
With some parameters in place about the type of trip you want to plan, it’s time to design your route. There are lots of ways you can go about doing so; here are some suggestions:
Pick a Pre-Planned Route
If you want to keep it simple, try to find a route that has already been developed for bikepacking. This can take a lot of the hard work out of planning a trip since you’ll likely be able to find info about trail conditions, mileage, elevation gain/loss, camping, water sources and more. MTB Project and Bikepacking.com are two great places to look for existing bikepacking routes.
How to Create Your Own Bikepacking Route
If no established bikepacking route exists in your area or you have a hankering to ride something new, see if you can come up with your own route. Here’s are some ways to do it:
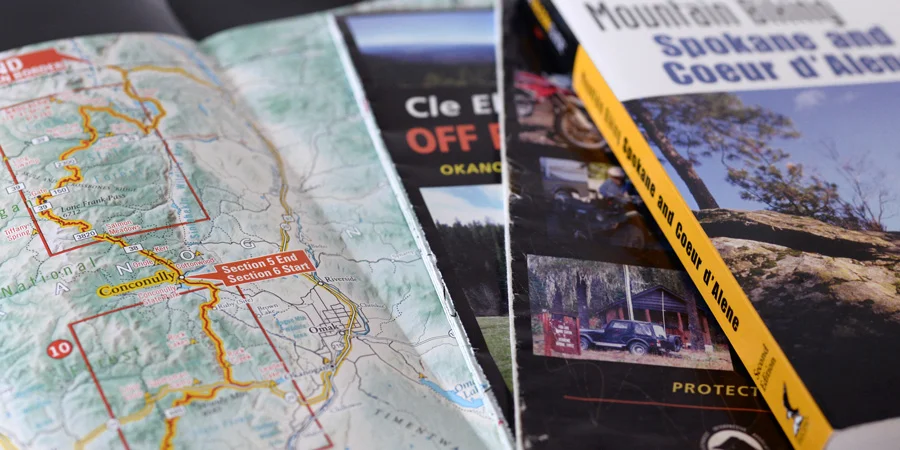
Consult maps, guidebooks and websites: These are all great resources for planning a bikepacking trip. You can use any one or all of them to find paved roads, forest roads, singletrack trails and doubletrack trails than can possibly be linked together to create a route. Keep in mind that not all trails and roads allow bikes. For instance, you’re not allowed to bike in federally protected wilderness areas.
Guidebooks and websites specific to mountain biking are particularly helpful for gathering the stats you’ll likely need, such as: trail difficulty, distance, elevation gain, directions, water resources and trail features.
Here are some websites we find particularly helpful when planning bikepacking routes:
MTB Project is great for discovering current singletrack and doubletrack trails.
Bikepacking.com has a ton of great route info that can provide inspiration for your next adventure.
Google Maps and Google Earth are helpful for finding roads, calculating distances and viewing satellite images of the terrain you plan to ride.
The National Forest Service Interactive Travel Map can help you find forest roads to ride on.
Talk to locals and other bikepackers: Talking to people familiar with the area or other folks who bikepack can be a good way to get route suggestions. Also, try contacting local ranger districts in the area where you want to travel. Rangers will have the most up-to-date information about trail conditions.
Know Where You’re Going to Sleep, Eat and Drink
While you’re doing your research, it’s wise to spend some time figuring out logistics for sleeping, eating and drinking.
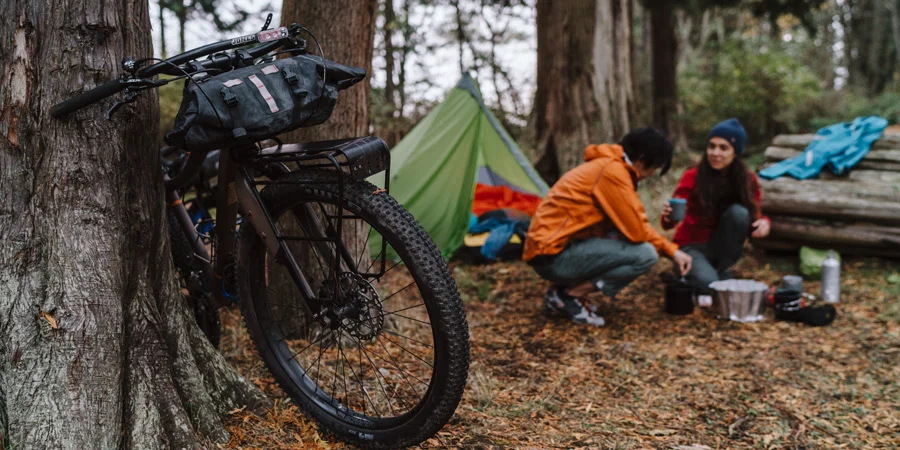
Sleeping: Having a plan in place, even just a rough one, for where you’re going to sleep each night is a good idea. This can be as simple as spotting a flat area on a map near a creek or as formal as making reservations at a campground, hostel or hotel. If you plan to camp somewhere other than a designated campground, know the land-use rules before pitching your tent (learn more in our blog post, Ask An Expert: Where Can I Camp?).
You may have heard bikepackers talk about stealth camping; this typically means finding an out-of-view spot and being hush-hush about your presence. If you choose to do this, don’t do anything illegal and ask for permission before camping on someone’s private property (such as in a farmer’s field).
Wherever you end up camping, follow the Leave No Trace principles.
Eating and drinking: If you’re heading out for a couple days, you can probably pack all the food and water you need on your bike. But, once a trip reaches three or more days, you’ll need to consider how you can refill your bottles and get more grub.
You may have to plan your route so that every few days you travel through a town with a convenience store, supermarket or restaurant. If you’ll be out in the boonies, take note of streams, rivers and lakes on your map and pack a water filter. You can plan to carry lightweight, compact freeze-dried meals or possibly coordinate with a friend to meet you with more food.
Create a GPS Track
If you’re comfortable navigating with a compass and paper maps, there’s no reason you can’t go ride your route right now. But, many bikepackers (and other cyclists) choose to ride with a smartphone or dedicated GPS device to help them with route finding.
A GPS is handy for displaying your position and recording your track as you go, but what’s perhaps even more helpful is the option of loading a route onto the device before you leave home. This allows you to follow turn-by-turn directions as you ride.
To load your route onto your smartphone or GPS device, you need to create a GPX track based on all the research you did to find trails and roads you want to ride. You can do this with a number of different online tools. Ride with GPS, MapMyRide and bikemap are three popular bike-specific options that are fairly easy to use. You drag and drop points on a map to create the route, and when you’re done, you download the GPX track and load it onto your smartphone or handheld GPS device.
With the route on your phone, you’re ready ride.
Go Ride
Ride. Have fun. Take lots of pictures.
When you get back, spend some time thinking about your trip and asking yourself some questions: What did you like? What did you dislike? Did you plan your daily mileage and/or elevation gain appropriately? Did you pack appropriately? What would you do differently next time?
Reflecting on your trip can help you when it comes time to plan your next bikepacking adventure. With each trip, you’ll get better and better and planning routes that cater to your interests and desires.
